Image Map

Sunday 16 December 2012

Bake Days #2 :Fudge & White Chocolate Brownies

***Picture Heavy post***

Sorry guys, I am bit late in posting the 2nd second edition of bake days . All the blame is going to none other than university and its neverending workloads!

Anyway,  I decided I wanted to make use of some free morrisons chocolate I got when I visited there stand at a placement fair a few weeks back , and what better way to use chocolate in a recipe other than BROWNIES, which happens to be one of my favourite desserts.


Ingredients

Serves12

Chocolate Brownie Mixture

4 large eggs
175g Unsalted Butter
175g Plain flour

1 teaspoon of Baking Powder
100g Cocoa Powder
175g soft brown sugar

175g Caster sugar
1 teaspoon Vanilla Paste or Vanilla Extract
1/2 teaspoon mixed spice (Optional)
100g Milk Chocolate 

Fudge Chunks ( I used Thortons Vanilla Fudge)
100g White Chocolate  ( I used patisserie)
Golden Syrup (Optional) 
Deep baking tin
Cake Release Spray to grease tin ( Optional)
  • Extra icing sugar for dusting brownies
  •  

    METHOD 

1. Preheat oven to 200 C / Gas Mark 6. Prepare your tin by greasing it with Cake Release spray or Butter and line with baking paper.

2. In a saucepan put about 25ml of water and let it simmer, then cut your butter into small chunks and break your bar of milk chocolate in a heatproof bowl and put over the simmering saucepan , Make sure your heatproof bowl does not touch the water and keep mixing until it has completely melted and is smooth is consistency. 


3.  Then in a mixing bowl,  beat an egg into the soft brown & caster sugar mixture.

4. Add the melted butter and chocolate mixture which you made earlier to the sugar & egg mixture and mix together.


5. Sift the flour/cocoa powder/Baking powder little by little into the sugar, chocolate, butter and egg mixture, but make sure you fold it with either a tablespoon or spatula instead of a mixing it with an ordinary wooden spoon , in order to ensure it keeps it light/airy consistency.( You can identify this by seeing if bubbles arise when you fold the mixture) 


6. Once it is all mixed together and smooth in consistency without any lumps of flour, then cut up  your white chocolate pieces and fudge pieces  and fold it into the chocolate brownie mixture .


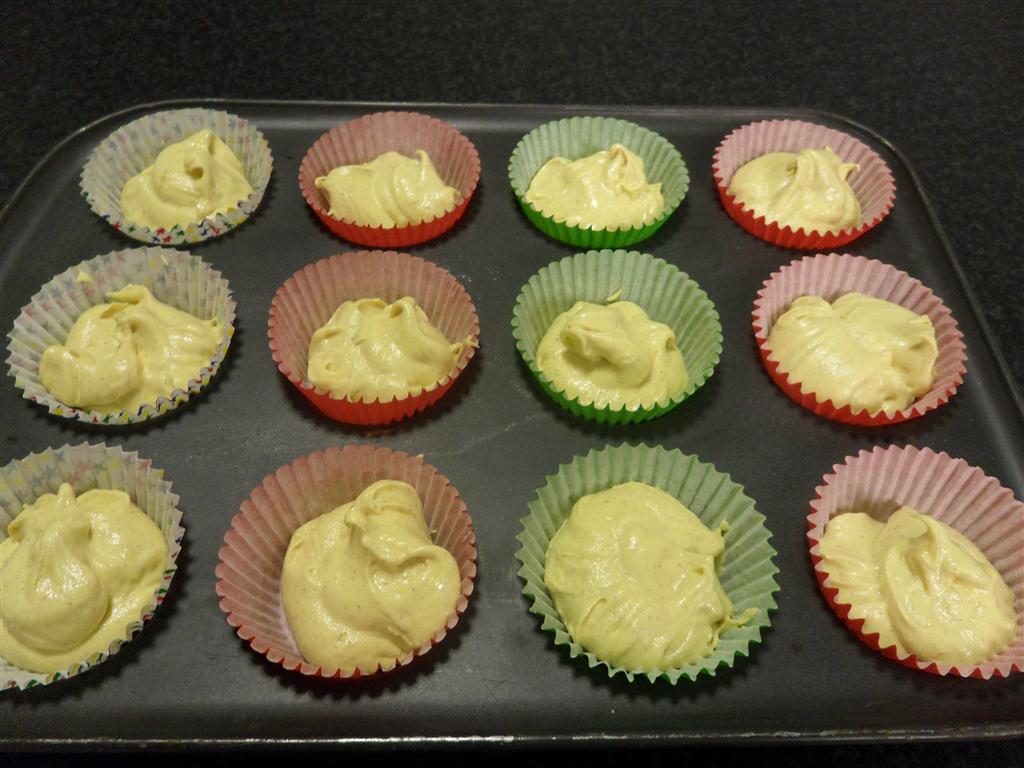
7.  Once it is all mixed,pour your mixture in your lined/greased baking tray and shake the tray a little bit to even out the mixture . 


8. Once you have smooth your mixture into the baking tray, add sprinkle a few pieces of fudge on top. Bake in the oven for approximately 25 minutes. You don’t want to overcook them so, unlike cakes, you don’t want a skewer to come out all clean. The brownies should be slightly springy on the outside but still gooey in the middle.


9. Once baked, leave your brownies to cool in the baking tray. Once cooled , cut into 12 pieces and  sift icing sugar on top , for decoration (Optional). Then serve.

 
There you have it, the final product Fudge & White Chocolate Brownies.


Let me know your favourite dessert?!

Peace, Love & Besos


Thursday 13 December 2012

PRIMARK SS13 Preview on LOOK


OMG Belles!!!!!

Have you seen the Primark SS13 preview on LOOK? If you haven't you need to stop what your doing and take a peek. 

I have said many times before that Primark are getting better as each season passes. Their SS13 collection is on point, following the key SS trends of pastel colours, boucle, structured designs and floral prints. They have it all. I have picked out a few of my favourites from the collection. I love how pastel colours always look so fresh and summery, and pairing that with a structured design instantly makes you look and feel elegant.

Of course there has to be some floral in the mix when it comes to SS, but I also like that the navy and stripes are coming out so that you can create a sailor chic outfit, especially with the key colours navy, white and red.

I'm sure Barclays won't like me when they release this collection. My ultimate favourite piece in the collection is the Pastel Pink PU Collar Biker Coat, it has every thing I look for in a coat and I can't wait for this one to be released. You probably don't know that I have a slight addiction to coats, and have lost count of my collection now

 I have picked out a few of my favourites from the collection, but if you want to see the rest of the collection just click here


PRIMARK SS13 Preview on LOOK

PRIMARK SS13 Preview on LOOK by kamarla on Polyvore


What were your favourites from the collection?

Hugs and Kisses

Sunday 2 December 2012

Winter Basics Haul

Hi Dolls!!!!!

I'm literally writing this before I head off to work. I recently told you that I got the christmas temp job at House of Fraser. Well yesterday was my first day and boy did they throw me in at the deep end. Also they are having an amazing 2 day brand event sale that customers are going crazy for *especially in the line up to Christmas*. Anywhooo I was literally just put on the floor and told to work *bear in mind that we only had a 2 day induction, which did not cover everything*. Just about everything that I wasn't taught came up on the most busiest day of the store which is typical. But I guess it's one of those situation where you either sink or swim.

Anyway I'm rambling now, so back to the point.

Yet again I had another visit to good ole Meadowhall, which my sister as per usual dragged me to, knowing that I'm suppose to be saving *smh*. But I have to agree with her that these were necessary essentials since Jack Frost has lost his damn mind up in Nottingham. I feel like the cold is slicing through me every time I walk to uni. So these items have definitely kept me toasty. Of course they are from our favourite little place PRIMARK.


Jumpers - £8
I just could not leave the shop without these jumpers, and if they bring out more colours then I will be making a trip again. These jumpers are not only warm and cosy, but really stylish as well. The fit is really nice also, because it is slightly fitted but baggy as well, so it doesn't feel like your in a paper bag. I also love the little zip detail at the back because it makes an otherwise plain jumper more interesting. It reminds me a lot of my Vero Moda long jumper, instead this is the shorter version. Plus with a £8 price tag you can stud or add your  own DIY flavour to make it your own.


Out of this world T-shirt - £1
Can you believe I picked up this bad boy for a bargain of £1. Shanaz decided to leave me and go on a little mission of her own searching for a a bargain, and managed to snag this beauty on the sale rail. *I still can't believe Primark can have sales when their prices are so cheap already*. It's quite long and the "out of this world" design is so cute. You can dress this up or dress it down depending on how you feel.

Love Necklace - 50p
This isn't exactly a winter essential, but for 50p it became essential. This "love" design is so cute and dainty. They had other designs but by the time we went back to get more they had already gone lol. I'm drawn to the chain more than the pendant because it is so unusual, and it compliments the pendant so well.


Basic Tees - £3 each
Our harsh winter is slowly creeping up to rear its ugly head, so it's the best time to start layering up. I usually prefer to start with a basic tee and work my way up. When I saw these v neck beauties for £3 (what a steal) I had to get them. They had so many more colours but I only chose these. Between us, both my sister and I probably have most of the colours. They look great with a fitted blazer, jeans and ankle boots, to create an effortlessly chic look for those casual days.

Seriously guys Primark are creating some great winter essentials that are on trend, so I would check out your local Primark.

Hugs and Kisses


Thursday 29 November 2012

Everything5pounds mini haul

Belles,

Not sure if you are aware of the online website that goes by the name of "Everything5pounds", if you haven't then where have you been?!

Basically it is a website that has women's clothing, shoes, accessories & more, all priced at , yes you guess it £5. It's amazing but more importantly its the shoes that always catch my eye and the other day when I previewed there new arrivals I knew I had to be a earlybird to catch the amazing deals.

So after patiently refreshing their new arrivals page, I managed to beat through the online crowd within the first 5 minutes of the new arrivals being uploaded and purchased the following:

Chelsea style boots


Platform wedged heels with ankle strap


Gold capped faux suede boots


I haven't worn out the chelsea boots or the wedges yet but the gold capped boots are a showstopper. I was in Meadowhall on a date with my sister and everyone was looking at them and even two men stopped to say my boots were "very nice"!!!!

Seriously, join there facebook page here to be in the know of there latest arrivals so you can purchase a fantastic pair of on trend shoes for only a fiver.


Peace, Love & Besos


Wednesday 28 November 2012

Select Specs - You Don't Need to Purchase off the Highstreet to Get A Decent Pair!!

Hellooooo Belles,

Since the age of 16 , I have worn prescription glasses due to being shortsighted, but I tend to remove them prior to any picture being taken.

I have always been a specsavers customer and normally I get charged in total approximately £150 for a pair of prescription glasses & prescription sunglasses , which is not easy to fund now I am back to living off a student budget. So I was excited when I seen an email from  Selectspecs offering to send me 2 pairs of glasses to review.

Selectspecs are an online glasses & sunglasses retailer, selling both prescription and non prescription glasses (For those who have 20/20 vision but still want to join in with the fun of glasses wearing),  they even reglaze and replace lenses on your current frame if it is in good condition. They have more than one range available to choose from ; the cheapest being their value frames which are priced at just £6 to the more expensive designer frames priced over £125. Each pair of prescription glasses from Selectspecs come with free standard lenses, UV protective, anti-reflective and scratch resistant coating , a case and a cloth.


The 2 frames, I chose were called Savannah 2213 - Black/ Red & Savannah 77088  - Brown , they were both chosen from the £6 value range. Due to postage & packaging being £4 for each pair of glasses it came to a grand total of £10 for each pair , which in my opinion is a still total bargain!!!!

Savannah 77088  - Brown
Savannah 2213  - Black/Red
Both glasses arrived very quickly , in under 10 days of ordering online, which is good considering these frames were shipped from Hong Kong and whenever I purchase anything from Ebay from Hong Kong, I am normally forced to wait a month for its arrival.
Though,  I was bit worried about the arrival of my frames due to not knowing whether or not they would suit my face,  but I was actually surprised when they arrived as both frames suited me.  The lenses are perfect  and are an exact replica match of my previous specsaver lenses, the frames are of high quality too!


At BBC 1XtraLive 2012 wearing Savannah Red/Black glasses

Overall, I will be definitely consider re-purchasing glasses from them again in the future as they are so much cheaper than your highstreet opticians, plus you have more trendy/fashionable options to choose from at different price ranges. 
It proves that you don't need to purchase glasses off the highstreet to get a decent pair!
 
Have you ever brought prescription or non-prescription glasses from Selectspecs ?
Peace, Love & Besos
 Note: This is a sponsored post, however my honest opinion remains

Monday 26 November 2012

NOTD: White lines and Diamonds

Hi Belles!!

I was suppose to post this last week but busy schedule didn't let me.

I did promise you that I would start to do more designs on my nails, and I kept my promise. I will try to make it a regular thing as Shanaz has her bake days I will try to have nail days.

Plus I also got myself a job in House of Fraser. Just as a Christmas temp in Lauren by Ralph Lauren, and the dress code is black so I decided to show my individuality through my nail art for my interview.

This is what I came up with


Bright Red 262, Matt White 66, Black 47

Hugs and Kisses


Wednesday 21 November 2012

Bake Days #1 - Cookie Monster Cupcakes

 ****Picture Heavy Post****

Welcome to the first edition of Bake days, I have now begun to dedicate my sunday afternoons to being a domestic goddess in the kitchen (cooking, baking & cleaning) before starting a hectic week of university lectures/seminars.

So a couple of weeks ago, if you saw my instagram you would have sneak-peeked my first baking creation.  I decided I wanted to bake some cupcakes but not your standard cupcake but a themed cupcake which I chose to be reminiscent of one of my favourite childhood tv show's 'Sesame street' , in particular the notorious "Cookie Monster" so I recreated the design of the cookie monster cupcakes.


Ingredients

Serves12

Vanilla Cupcake Mixture

2 large eggs
175g Margarine
175g Self Raising flour
175g caster sugar
1 teaspoon Vanilla Paste or Vanilla Extract
1/2 teaspoon mixed spice (Optional)
1/2 juice of a  Lemon (Optional)

Large cake paper cases

  • Buttercream Mixture

50g Margarine
1 teaspoon Vanilla Extract or Vanilla Paste
Blue Gel food colour (Adjust depending on your preference)
Sifted Icing Sugar (Apologies, I didn't measure this as I added as and when it was required, I would use 50-60g if I did measure)


  • Coconut topping Mixture

    Desiccated coconut ( Again sorry I didnt measure I probably used 250g of the packet

    Blue Gel Food Colour (Be generous with the colouring as you need to ensure the coconut is fully coated so probably 1 1/2 tablespoons)


    Cookie Monster Face

    6 chocolate chip cookies for the mouth ( These will be halved)

    Giant or normal sized white chocolate buttons for eyes

    Designer writing icing or Milk/Dark Chocolate chips for pupils of eye


    METHOD 

1. Preheat oven to 200 C / Gas Mark 6. Prepare your cake tin with 12 paper cases.    

2. In a mixing bowl , mix the butter and caster sugar together until light & creamy in consistency. 

3.  Then one by one, beat an egg into the butter & sugar mixture (not too vigariously as you want the cakes to be light and airy) . 

Optional: if you like you can put a dash of lemon juice in the mixture so the eggs are not so rysh once cooked.


If the mixture looks slightly curdled , don't worry as the flour will help to bind it together. But make sure you don't overmix.
4. Add the vanilla paste or vanilla extract to the egg, butter & sugar mixture.


5. Sift the flour little by little into the sugar, butter and egg mixture, but make sure you fold it with either a tablespoon or spatula instead of a mixing it with an ordinary wooden spoon , in order to ensure it keeps it light/airy consistency.( You can identify this by seeing if bubbles arise when you fold the mixture) 


6. Once it is all mixed together and smooth in consistency without any lumps of flour, then fill  approximately 1 tablespoon & 1/4 of cake mixture into the paper cases. Then bake in the oven for approximately 15 to 25 minutes until they are a light golden brown or once you press them and they spring back when you touch them in the middle.(Note: Keep an eye on them as they tend to cook quite quickly).
7. Once the cakes are cooked, take them out of the oven and transfer them to a cooling rack, so they are completely cook to enable you to put on your cookie monster faces.
8. Prepare your buttercream mixture by mixing together  in a small bowl the margarine , vanilla paste/extract, blue food colouring and the sifted icing sugar until thick/smooth without lumps. If it is too runny, add more icing sugar and put to one side.

9. Then in another bowl mix together the dessicated coconut with the blue food colour and ensure the mixture is all blue without any pieces in white and put to one side. 
10. Then prepare the cookie monster face by getting your cookies and cutting them in half with a knife ( A normal one is fine, doesn't have to be a sharp one) then set aside. Create the eyes of the cookie monster by getting your white chocolate buttons and adding pupils to them by putting a small 1cm drop of icing or chocolate chip (Stick it with buttercream/icing or edible glue) in middle.
11. Get your cooled cupcakes and create the faces by firstly spreading a layer of buttercream all over the top of the cakes, then add sprinkle generously the dyed coconut to create texture. Make a slit for the mouth and stick a half of cookie in the split for the mouth. Then add the two eyes which you previously set aside.
There you have it, the final product cookie monster cupcakes.


Let me know if you have you tried baking these before?!

Peace, Love & Besos

Related Posts Plugin for WordPress, Blogger...